Design This works best with bottles that have a concave bottom although there is nothing to stop you from using other shapes if you provide enough support for the ball. The bottles that I used were not fizzy pop bottles but were black current drink bottles. These happened to be made from PET, using the same blanks that are used for pop bottles - they survived pressure testing to 140 psi. They grew slightly the first time but during subsequent pressurisations the bottles remained stable. The growth took place at the ridges around the
bottle where the label went and where it was
designed to be held - the ridges making the
bottle Note, only pressure test bottles when they are completely full of water - this way, if it should fail, there is not a lot of energy held in the water waiting to be released. Manufacture All that you need to build this is . . .
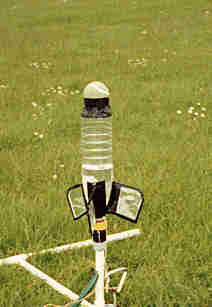
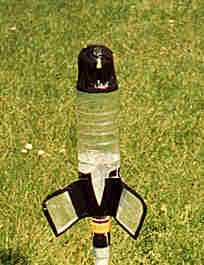
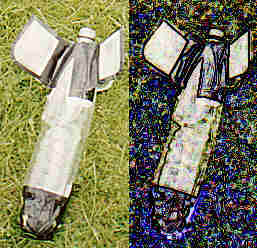
Make sure that the bottle and the ball are clean and dry. Put some glue onto the bottom of the bottle and quickly push the ball into place and hold, making sure that it is coaxial with the body of the rocket. If the size of the ball that you use matches with the curvature of the concave bottom, this should be fairly easy. Once the glue has hardened (around 30 seconds or so for cool melt adhesive), put some strips of gaffer tape around the bottle and the base of the ball making it reasonably smooth in an aerodynamic sort of way (this is really high-tech stuff). Photographs Below are the results of this project. Having made them myself, I would recommend this as an effective and simple enough recovery method for children. The fact that you get a symmetrical, aerodynamic nose cone is the icing on the cake.
|
||||||||
 more
rigid in the shop as it was not pressurused.
These ridges simply strightened out on taking the
bottle up to high pressure for the first time.
more
rigid in the shop as it was not pressurused.
These ridges simply strightened out on taking the
bottle up to high pressure for the first time.